Top 10 Tools to Ensure an Intricate OPI Gel Polish Manicure
Suppose I ask you. “What is the easiest way to get a gel manicure?” Your reply would be to visit the nearest nail salon and get a professional job done. Under normal circumstances, your response is the perfect one. However, we are not living in regular times. It is the time of a COVID-19 second wave that is proving deadlier than the first one. You have quarantine and other restrictions to follow. Visiting the nail salon for a gel manicure should be the last thing in your mind. It is not worth taking the risk. The best alternative left for you is to go for a DIY manicure. When doing so, you should have the following tools handy.
Topcoat and Base Coat
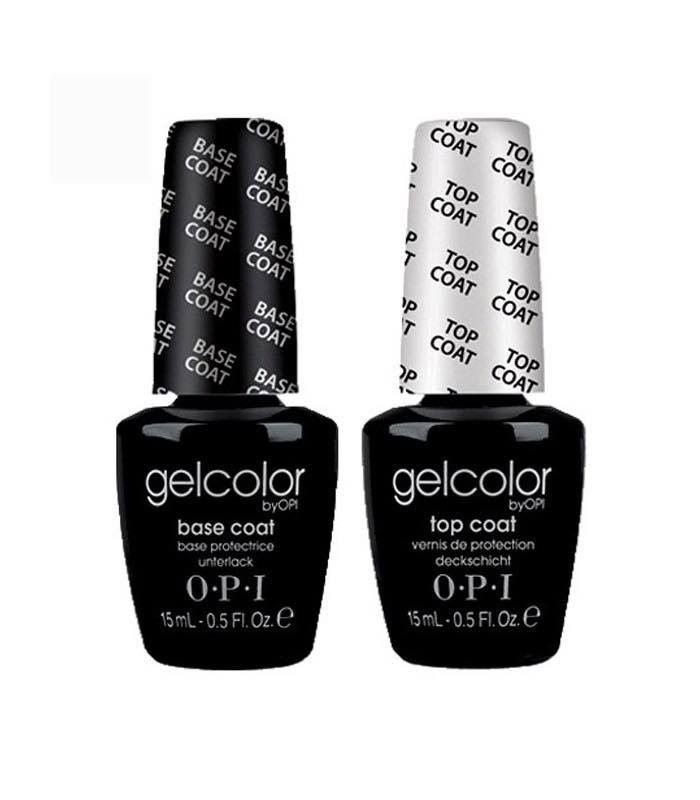
All gel manicures need a base coat and topcoat application. Though you have some brands that do not require a topcoat or a base coat, it is an exception to the rule. An OPI gel nail polish kit comes equipped with clearly marked topcoat and base coat applications. There is no compulsion to have the topcoat and base coat of the same brand, but it is better to have one because it ensures uniformity and quality. Besides, using the same brand ensures that they cure in the type of UV lamp you have.
UV or LED lamp
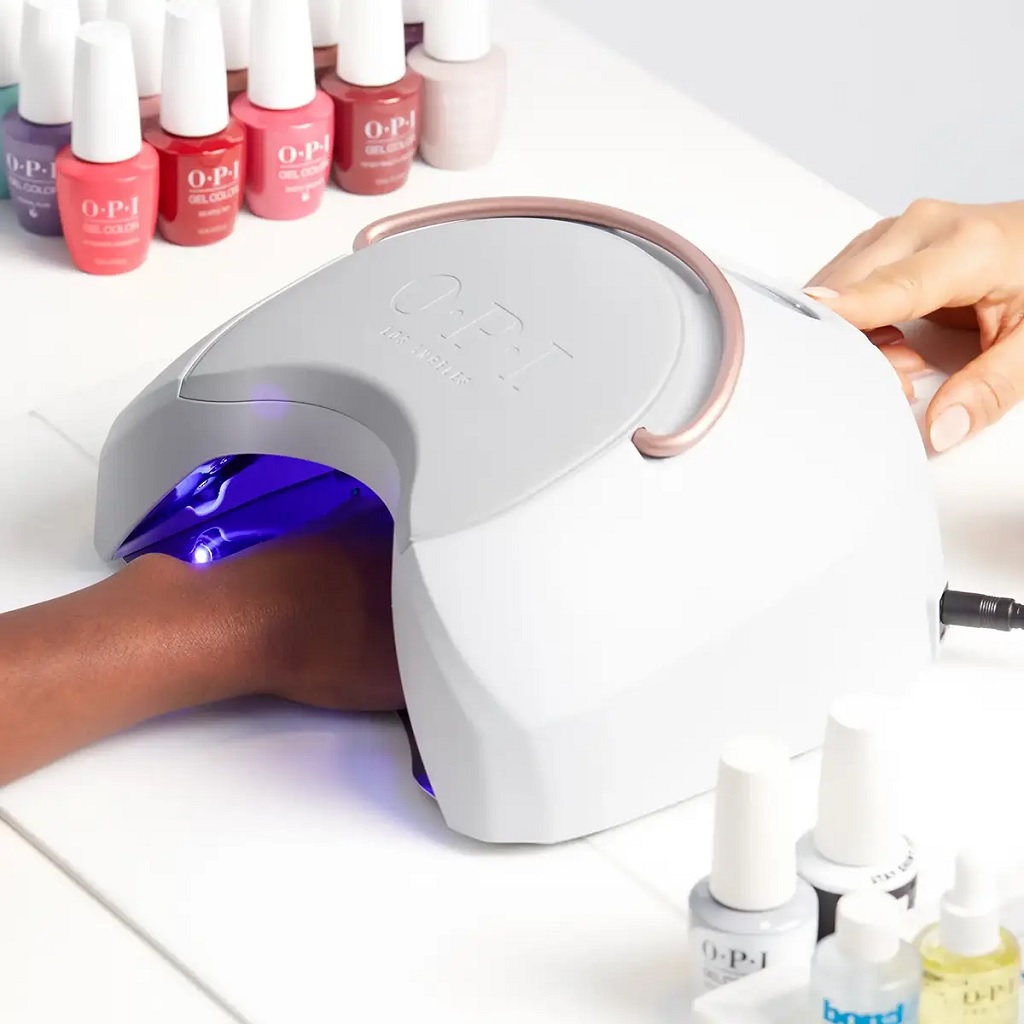
A gel manicure is incomplete without curing the polish under a UV lamp. People today use the LED light as an ideal alternative. The difference is that UV lamps can take up to three minutes to cure, whereas the LED lamps do not need that much time. One minute should be sufficient. It is advisable to purchase a quality UV lamp that is compatible with the OPI gel nail colors you intend to use.
Acetone or Nail polish remover
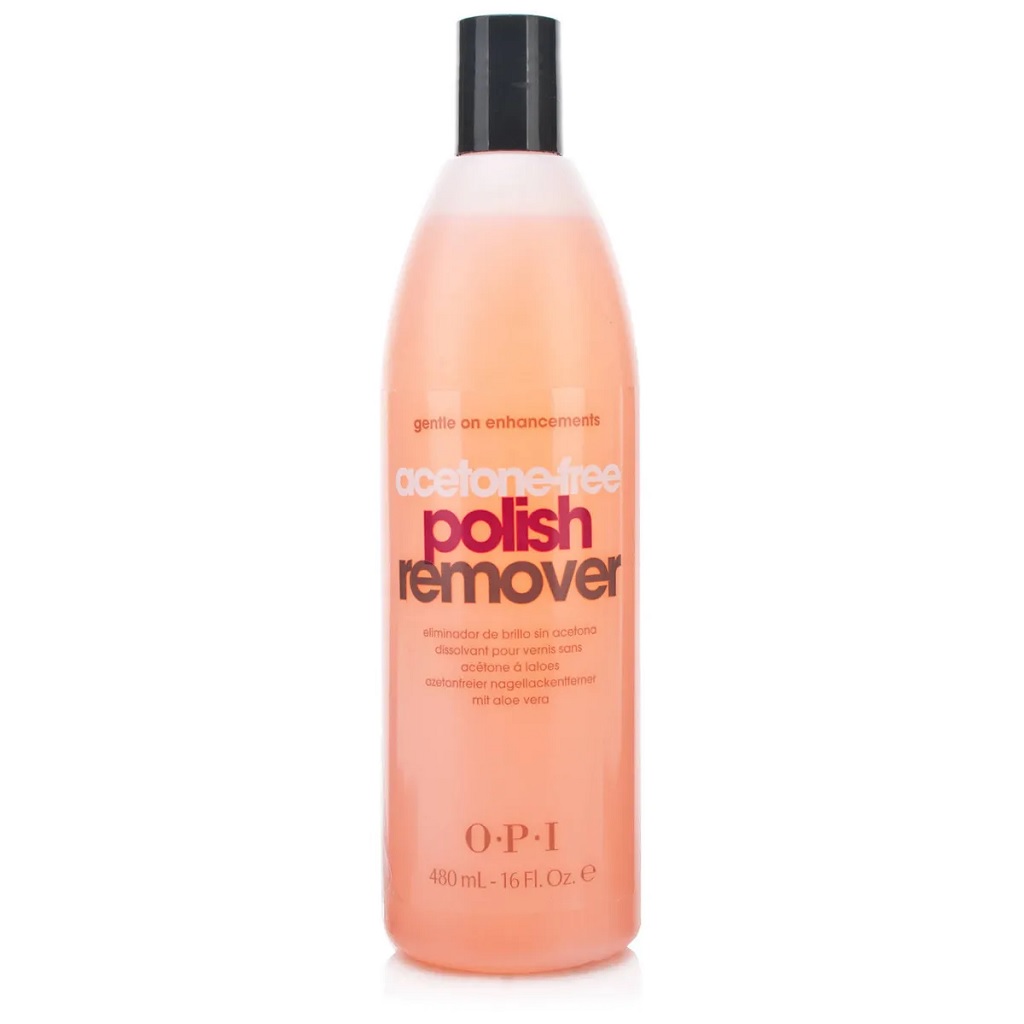
Nothing lasts forever, even gel manicures. A perfectly done gel manicure should last comfortably for three to four weeks. Your nail’s natural growth process results in the gel manicure wearing out on its own. There are also chances of the polish lifting or chipping off. Under such circumstances, you should have a nail polish remover or a bottle of pure acetone handy.
Moisturizing cream or Cuticle oil
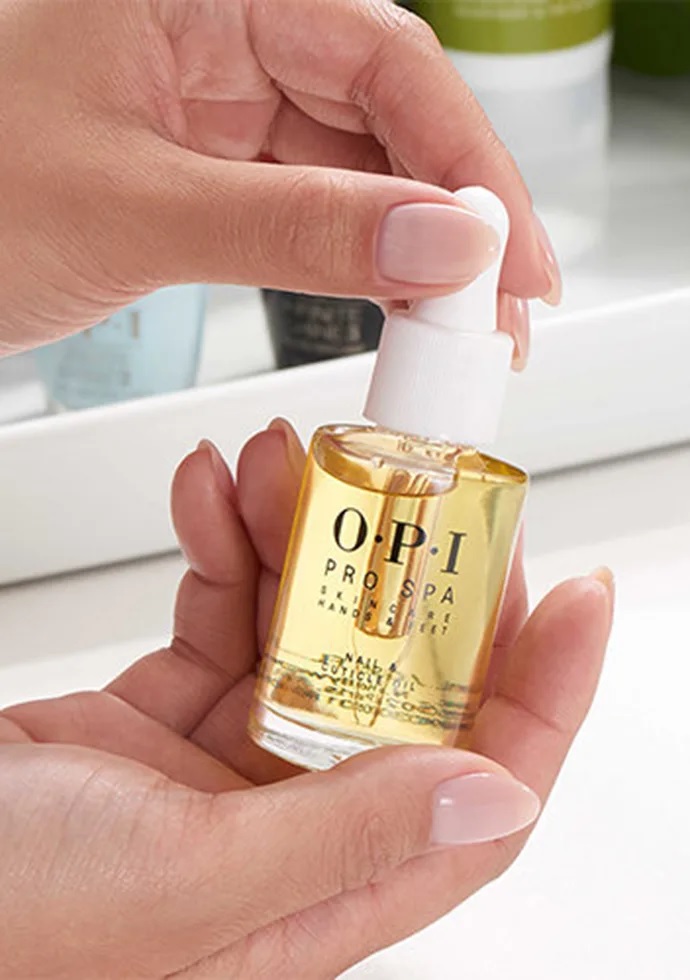
As you use acetone to remove gel polish, you end up dehydrating the nails and the skin around it. Cuticle oil serves as the best moisturizing agent to help nails regain their natural moisture level. You can also use moisturizing creams to rehydrate the nails and keep them healthy.
91% Rubbing Alcohol
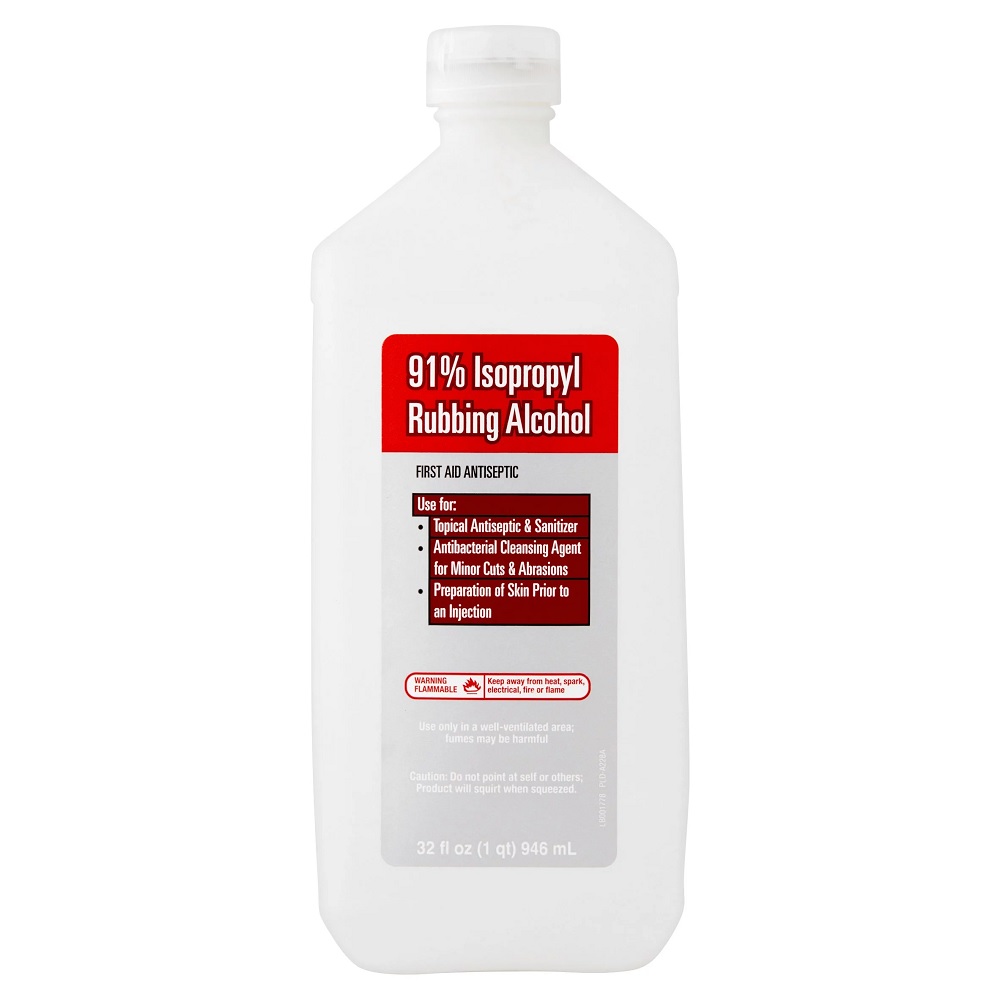
Cleansing your nails after the buffing process is necessary to remove the tacky layer at the end of the manicure. A bottle containing 91% isopropyl alcohol should find a permanent place in your nail manicure kit. While anything of 70% should work, it is better to go for a higher number as it does the perfect job. Simultaneously, you should have lint-free wipes to use with it.
High-quality Nail files
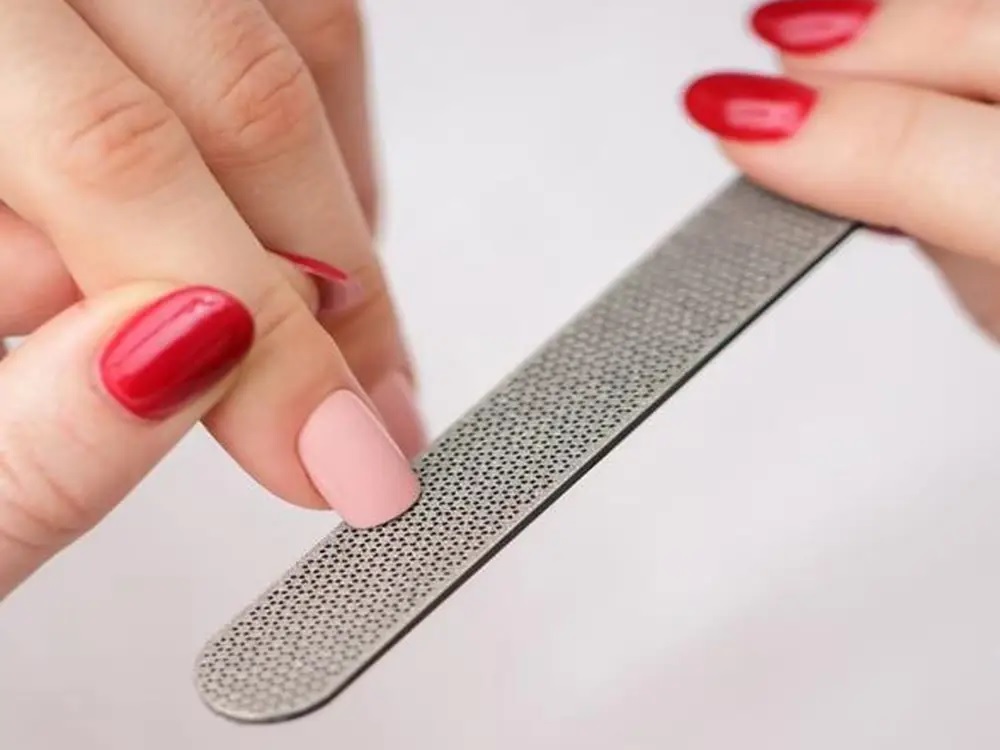
Preparing your nails for the OPI gel polish manicure is crucial. It requires cutting and shaping your nails. A high-quality nail file, either a crystal or glass file, is a handy accessory to have. The crystal file is a better option because of its long-lasting power. Sterilizing the file before and after use is critical in these days of the pandemic.
Nail Buffer

Gel polish sticks to the nail surface better if it is roughed up a little. A high-quality nail buffer helps to rough up the nails to enable an excellent gel manicure. It is advisable to use the buffer gently as you could otherwise damage your nails.
Dotting Tools
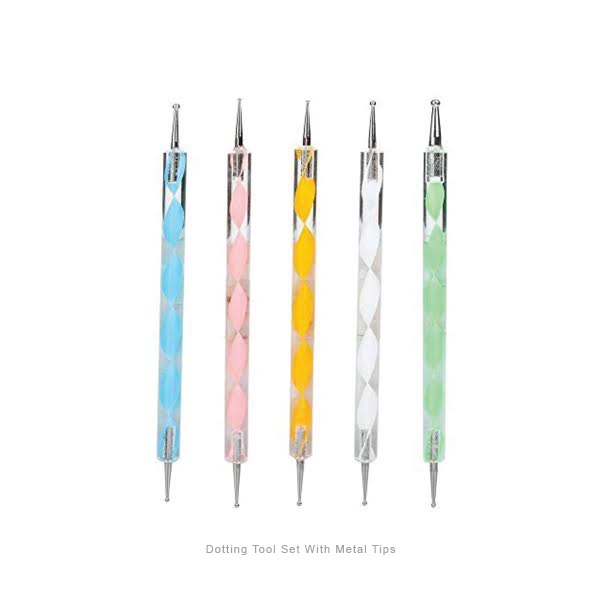
A plain OPI gel polish looks good, but a design or two on top enhances the attraction quotient by several notches. Dotting tools let you create hundreds of unique and simple nail art designs. As they are available in different sizes, you have endless possibilities to work with during the manicure.
A paint shaker – optional accessory
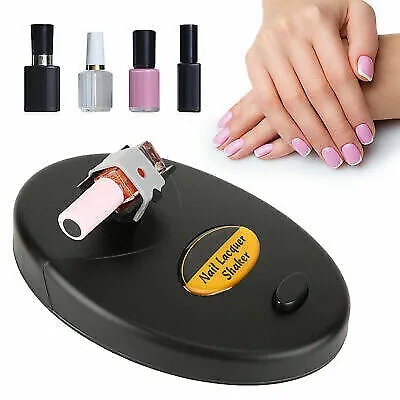
OPI gel needs to be mixed well before you apply it to your nails. Hence, you have to shake the bottle thoroughly to distribute the glitter in the gel polish evenly. Your hands can do the job well, but you have machines to help you in these jobs. A paint shaker is an ideal tool to have.
Swatch Sticks – Another optional tool
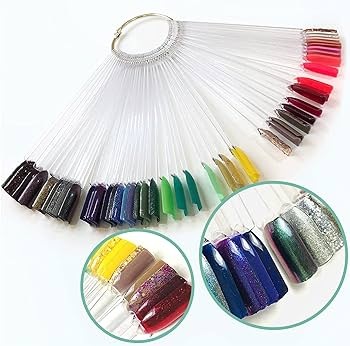
Swatch sticks are not compulsory to have. However, they serve an excellent purpose of showing how your nails would look after the gel manicure. You can comfortably paint nail shapes using your gel polish and get an unmistakable feel. These sticks are inexpensive. Though optional, they are worth having in your kit.
Conclusion
We have discussed ten simple tools that should form part of every gel manicure kit, especially when you go for a DIY job in these times of COVID-19 restrictions.